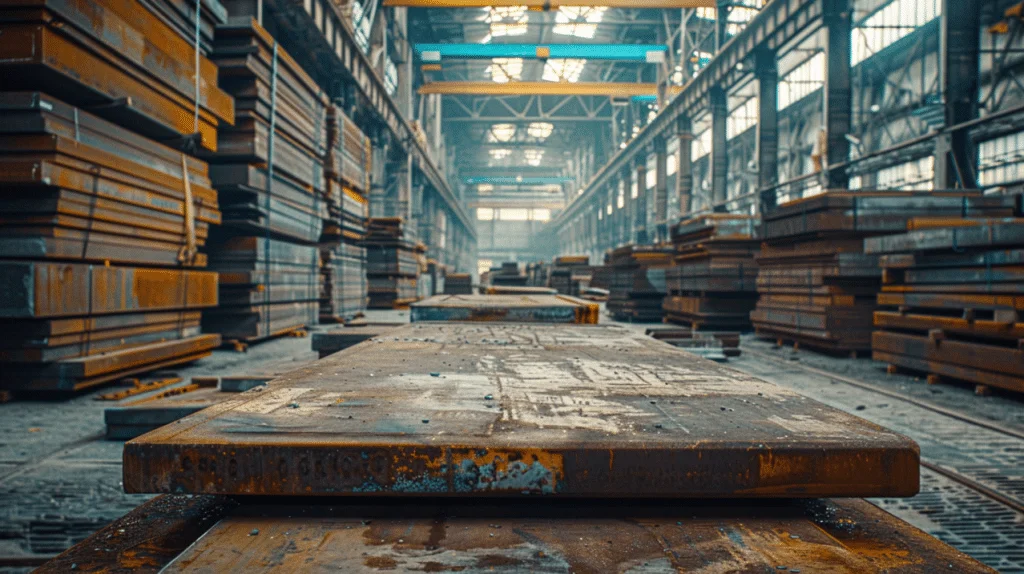
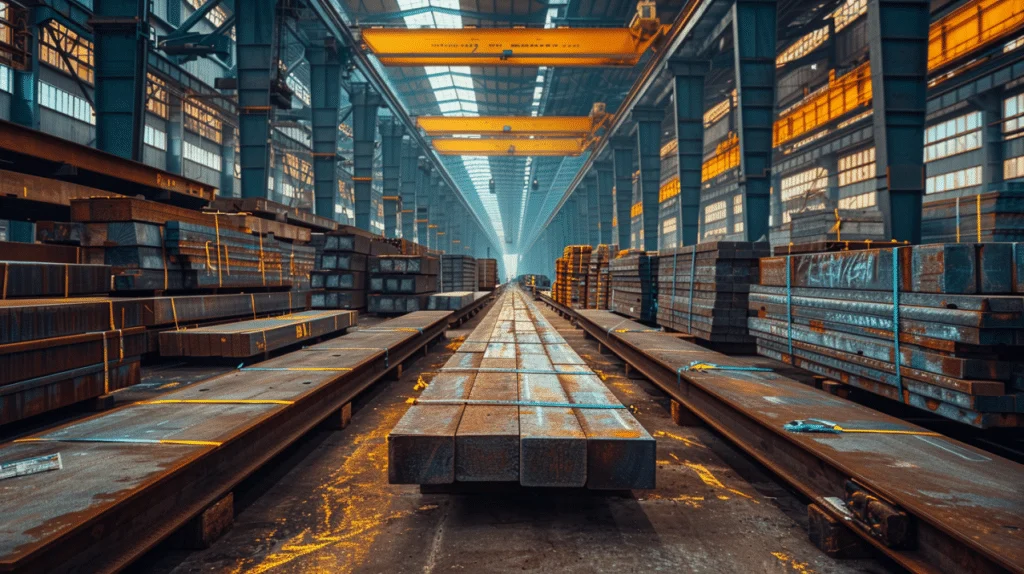
Just when you thought you’d mastered the basics of metalworking, you’re faced with the challenge of hardening P20 tool steel, a crucial skill for any serious craftsman. You’ll start with a precise pre-hardening preparation, meticulously controlling the environment to avoid any contaminants. Heating must be executed with precision, reaching the exact temperature where the steel’s structure starts to transform. Then, there’s the soaking phase, a period that demands patience and precision to achieve uniformity. Quenching and tempering follow, each with its own set of risks and rewards. The process might seem daunting, but with the right approach, you’ll unlock a level of durability in your tools that’s unparalleled. Curious about the nuances and looking to avoid common pitfalls? The journey ahead promises to equip you with the knowledge to not only harden P20 tool steel but to master it.
Pre-Hardening Preparation
Before starting the hardening process, it’s essential to ensure that your P20 tool steel is in the best condition possible for optimal outcomes. Skipping preparation can negatively affect the desired hardness and mechanical properties of the steel.
Begin with a thorough cleaning of the P20 steel surface. Any presence of dirt, oil, or grease can interfere with the hardening process, resulting in uneven hardness. To tackle this, use a degreaser or solvent for initial cleaning. Follow this with a mild abrasive to get rid of any persistent contaminants.
Next, inspect the steel closely for any cracks or defects. Since hardening can worsen these issues, addressing them at this stage is critical. Should you find any flaws, pre-heating or welding might be necessary to repair them. However, approach welding with caution to prevent adding new stresses to the steel.
Lastly, make sure the steel is at room temperature before you begin hardening. Starting at a uniform temperature is key to achieving consistent results across the entire piece. Taking your time with this step will contribute significantly to the quality of your final hardened tool steel. Remember, a little patience at this stage can lead to better outcomes in the end.
Heating Phase
Moving on to the heating phase, you’ll need to understand how to properly heat P20 tool steel. It’s crucial to follow specific temperature ranges and heating rates for optimal results. Additionally, ensuring uniform heating and precise temperature control is key to avoiding defects.
How To Properly Heat P20 Tool Steel (Temperature Ranges And Heating Rate)
Heating P20 tool steel correctly is a meticulous process that demands attention to temperature ranges and heating rates. This precision is the key to achieving the desired hardness and structural integrity in the steel.
Start by warming the steel gradually. Aim for a preheat temperature between 788°C (1450°F) and 816°C (1500°F). This initial step helps prevent thermal shock, ensuring the heat spreads evenly throughout the material. It sets the stage for the more critical phase of austenitizing.
Next, elevate the temperature to enter the austenitizing range, which lies between 871°C (1600°F) and 899°C (1650°F). During this phase, control the heating rate to about 204°C (400°F) per hour. This careful control is essential. Rushing or uneven heating at this stage can negatively affect the steel’s properties, leading to suboptimal results.
Importance Of Uniform Heating And Temperature Control
Ensuring uniform heating and precise temperature control is paramount when hardening P20 tool steel. This meticulous process is essential because it allows the entire piece to heat evenly. Avoiding thermal gradients is crucial as they can lead to warping or distortion of the steel.
Precise temperature control plays a critical role in this process as well. It helps in preventing the steel from overheating or remaining underheated. Both conditions are detrimental to the steel’s mechanical properties. Proper temperature management ensures that the microstructure of the P20 tool steel undergoes the correct transformation. This transformation is vital for achieving a tool that is not just hard, but also exhibits toughness and wear resistance.
Soaking Phase
After heating, you’ll enter the soaking phase, a critical step in hardening P20 tool steel. This stage involves holding the steel at a targeted temperature for a specific duration, ensuring uniform heat penetration. It’s essential for achieving thorough hardening, impacting the steel’s final properties and performance.
Soaking Process And Its Duration
To ensure the P20 tool steel reaches its optimal hardness, a precise soaking process is pivotal. This process requires heating the steel to a specific temperature and then maintaining that temperature to allow for an even distribution of heat throughout the material. Achieving a uniform temperature is crucial for the steel to obtain its maximum hardness.
The duration of the soaking process depends on the thickness and composition of the steel. Typically, pieces up to one inch thick need to maintain the temperature for a minimum of 30 minutes to an hour. For thicker sections, the required time extends proportionally. It’s essential to allow the steel the time it needs during this step. Rushing the process can lead to suboptimal hardening, affecting the steel’s properties.
The Role Of Soaking In Achieving Thorough Hardening
Grasping the significance of the soaking process is essential for ensuring P20 tool steel achieves thorough hardening. Once the steel reaches its hardening temperature, it’s crucial not to hasten its cooling. Letting the steel soak during this phase allows the heat to deeply penetrate its core, ensuring uniform hardness throughout the material. The key isn’t just hitting the right temperature but maintaining it long enough for the heat to be uniformly absorbed by the entire piece.
Skipping or curtailing this soaking step can lead to a tool that’s merely hardened on the surface, possessing a soft core, which could cause it to fail prematurely. Therefore, patience during the soaking phase is not just beneficial but necessary for the tool’s performance and longevity.
Quenching Phase
After soaking P20 tool steel, you’ll enter the crucial quenching phase to harden it. You must choose the right quenching medium—oil, water, or air—to ensure optimal results without warping or cracking the steel. Quenching requires precision; understanding how to execute this step correctly is vital for the integrity of your tool.
Quenching Mediums Suitable For P20 Tool Steel (Oil, Water, Air)
Choosing the correct quenching medium for P20 tool steel is crucial for ensuring the steel reaches its optimal hardness while maintaining its structural integrity. The options include oil, water, and air, each with distinct cooling rates and effects on the steel.
Oil quenching stands out for its moderate cooling rate. This method strikes a balance, minimizing the risk of thermal shock and distortion. It ensures the steel achieves uniform hardness, making it a preferred choice for those looking to maintain the steel’s quality.
Water quenching, while effective in cooling, does so at a much faster rate. This rapid cooling poses a higher risk of cracking in P20 tool steel, which makes it a less favorable option for this type of material.
Air quenching offers the slowest cooling rate among the three. It’s the most cautious approach, significantly reducing the chances of warping. However, the trade-off might be achieving a lower hardness level than desired.
How To Quench The Steel To Avoid Warping Or Cracking
To ensure your P20 tool steel hardens correctly without succumbing to warping or cracking, paying close attention to the cooling process during quenching is essential. Start by selecting the appropriate quenching medium. For P20 tool steel, oil is often the best choice due to its ability to cool the material at a moderate rate, reducing the risk of thermal shock.
Heating the steel uniformly is crucial. Uneven temperatures can create stresses within the material, leading to unwanted deformations. When it’s time to quench, immerse the steel piece vertically into the quenching medium. This technique promotes even cooling, helping to prevent distortion.
Gently agitate the steel in the quenching medium. This action helps achieve more uniform extraction of heat from the steel. Abrupt temperature changes are detrimental, so this step is vital for maintaining the structural integrity of the material.
After reaching the target temperature, let the steel cool in air. This phase allows for the relief of any residual stresses, further minimizing the risk of warping or cracking. This methodical approach to quenching P20 tool steel is critical for preserving its quality and ensuring its performance in applications.
Tempering Phase
After quenching, you must temper your P20 tool steel to achieve the desired balance between hardness and toughness. You’ll need to understand the specific temperatures and duration for tempering, as these factors are crucial for optimizing the steel’s performance. This phase significantly impacts the final properties of your tool, influencing both its durability and workability.
Necessary Temperatures And Duration For Tempering P20 After Quenching
After quenching your P20 tool steel, it’s essential to proceed with the tempering process to ensure it achieves the desired hardness and toughness. Start by heating the steel within the temperature range of 930°F to 950°F (500°C to 510°C). This range is critical for P20 as it helps relieve the stresses induced by quenching without sacrificing the steel’s mechanical properties.
Maintain this temperature for a minimum of 2 hours. This duration is vital for achieving uniform tempering throughout the steel. Following this, allow the steel to cool down in still air. This method of cooling is chosen specifically to avoid thermal shocks, which can introduce new stresses into the material.
The Impact Of Tempering On Hardness And Toughness
Grasping the nuances of the tempering process is essential for achieving the desired balance of hardness and toughness in P20 tool steel. This involves heating the steel to a predetermined temperature that is below its critical point, followed by a controlled cooling. This method effectively reduces the brittleness that quenching introduces, yet it preserves a significant amount of the material’s original hardness.
The key lies in striking the right balance during tempering. Temper too lightly, and the steel may remain excessively brittle, rendering it unsuitable for its intended use. Conversely, excessive tempering can lead to a substantial loss in hardness, thereby diminishing the tool’s longevity and performance. The goal is to achieve a tempered structure that embodies an ideal blend of toughness and resistance to wear.
Post-Hardening Treatments
Maximizing the toughness and wear resistance of P20 tool steel requires several post-hardening treatments. Each step is designed to improve the steel’s physical properties, ensuring it performs optimally in demanding applications.
Stress relieving is a critical first step. After hardening, the steel may harbor internal stresses that pose risks of cracking or distortion. Heating the steel to approximately 600°C (1112°F) and allowing it to cool slowly reduces these stresses without compromising its hardness. This process ensures the material maintains its structural integrity.
For enhanced wear resistance, secondary hardening is recommended. This process involves reheating the steel to a lower temperature following the initial quenching and tempering. This step boosts the hardness and strength of the steel, making it more durable against wear and tear.
Tempering is a non-negotiable final step. Although the steel undergoes tempering during hardening, a subsequent tempering at a precise temperature refines the steel’s properties. It strikes a balance between hardness and toughness, making the P20 tool steel durable and resistant to brittleness, ready for its specific applications.
Safety Precautions And Best Practices
When working with P20 tool steel, prioritizing safety is key. Start by donning the correct personal protective equipment (PPE). This includes heat-resistant gloves, safety goggles, and protective clothing to protect against potential splashes and sparks that could occur during the hardening process.
A well-ventilated workspace is essential to avoid the accumulation of harmful fumes. Before you begin, check that all equipment is in prime condition to prevent accidents and ensure the integrity of the hardening process. Understanding how to operate your equipment safely, including being familiar with safety features and emergency stop mechanisms, is fundamental.
Adhering to the recommended heating and cooling rates for P20 tool steel is vital. Avoiding rapid temperature changes prevents thermal shock, which can cause the steel to crack and fail. Keep your workspace tidy and organized to minimize the risk of accidents, such as tripping or accidentally coming into contact with hot surfaces.
Troubleshooting Common Issues
Hardening P20 tool steel comes with its set of challenges, each affecting your workpiece’s quality and integrity. Addressing these issues promptly ensures your tools perform at their best.
Cracking tops the list of potential problems. It often happens when steel is heated or cooled too fast. To dodge this, meticulously manage the heating and cooling rates. A controlled furnace and adherence to recommended heat treatment cycles are your best bets.
Warping is another hurdle. It stems from uneven heating or cooling. For an even temperature spread, position the steel thoughtfully in the furnace and quenching medium. Consider preheating or opting for a slower quenching medium to sidestep this issue.
Distortion often plagues complex shapes. A pre-hardening stress relief can mitigate this by easing internal stresses that lead to distortion during quenching.
Surface decarburization, the weakening of the steel’s surface, also poses a threat. It compromises wear resistance. Shielding the steel’s surface in the furnace with a protective atmosphere or enclosing it in a carbon-rich material can prevent this.
Each of these challenges requires specific strategies for prevention, ensuring the longevity and reliability of P20 tool steel in your projects.
Frequently Asked Questions
How Does the Chemical Composition of P20 Tool Steel Affect Its Hardening Process and Final Properties?
The chemical makeup of P20 tool steel plays a big part in how it’s hardened and its final features like hardness and toughness. This is because the mix of elements in the steel affects how well it responds to heat treatment, which is key to making it strong and resistant to wearing down.
Can P20 Tool Steel Be Hardened Using Non-Traditional Methods, Such as Cryogenic Treatment, and What Are the Benefits?
P20 tool steel can be hardened using methods like cryogenic treatment. This process improves its resistance to wear and keeps its shape better, making it a good choice for some uses. It offers benefits beyond traditional hardening methods.
How Does the Size and Thickness of the P20 Tool Steel Piece Impact the Choice of Hardening Technique?
The choice of hardening technique for P20 tool steel is influenced by its size and thickness. Bigger and thicker pieces might need more time to soak or specific techniques to get evenly hard without damaging the steel.
What Are the Environmental Impacts of Hardening P20 Tool Steel, and Are There Eco-Friendly Alternatives?
Hardening P20 tool steel affects the environment mostly by using a lot of energy and creating emissions. There are greener choices, like methods that use less energy and recycling, to reduce these impacts.
How Does the Age or Previous Usage of P20 Tool Steel Affect Its Ability to Be Hardened Again?
The age and previous use of P20 tool steel impact its ability to harden again. With each cycle of heating and cooling, its structure changes, making it harder to reach the same levels of hardness as before. This means the more it’s used, the tougher it gets to harden it again.
Conclusion
To ensure the durability and optimal performance of P20 tool steel, a precise approach to hardening is vital.
Explore more about the process to refine your skills. Take the next step in mastering tool steel hardening by delving deeper into techniques and safety practices.